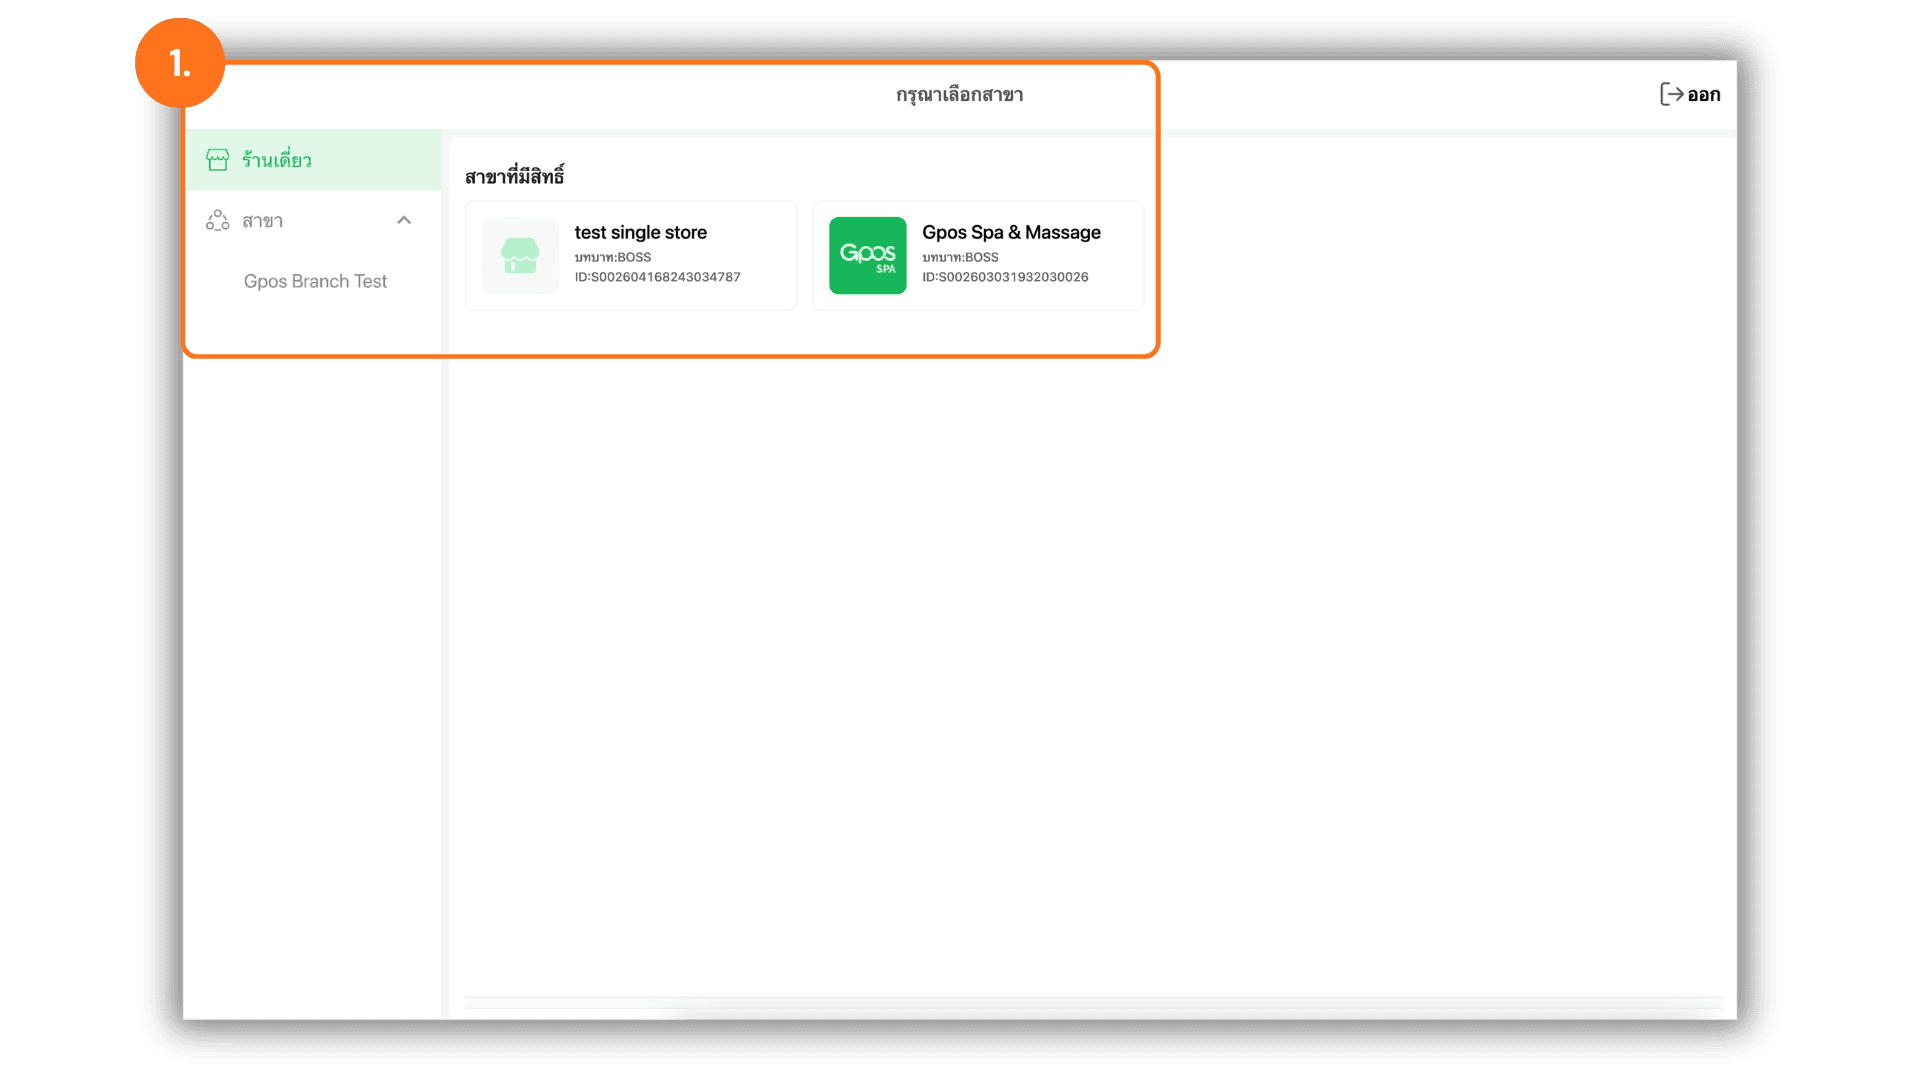
1. Select the Store or Branch for Service
Start by clicking to select the store or branch you wish to manage from the Please select a branch page to enter the system for that specific branch.
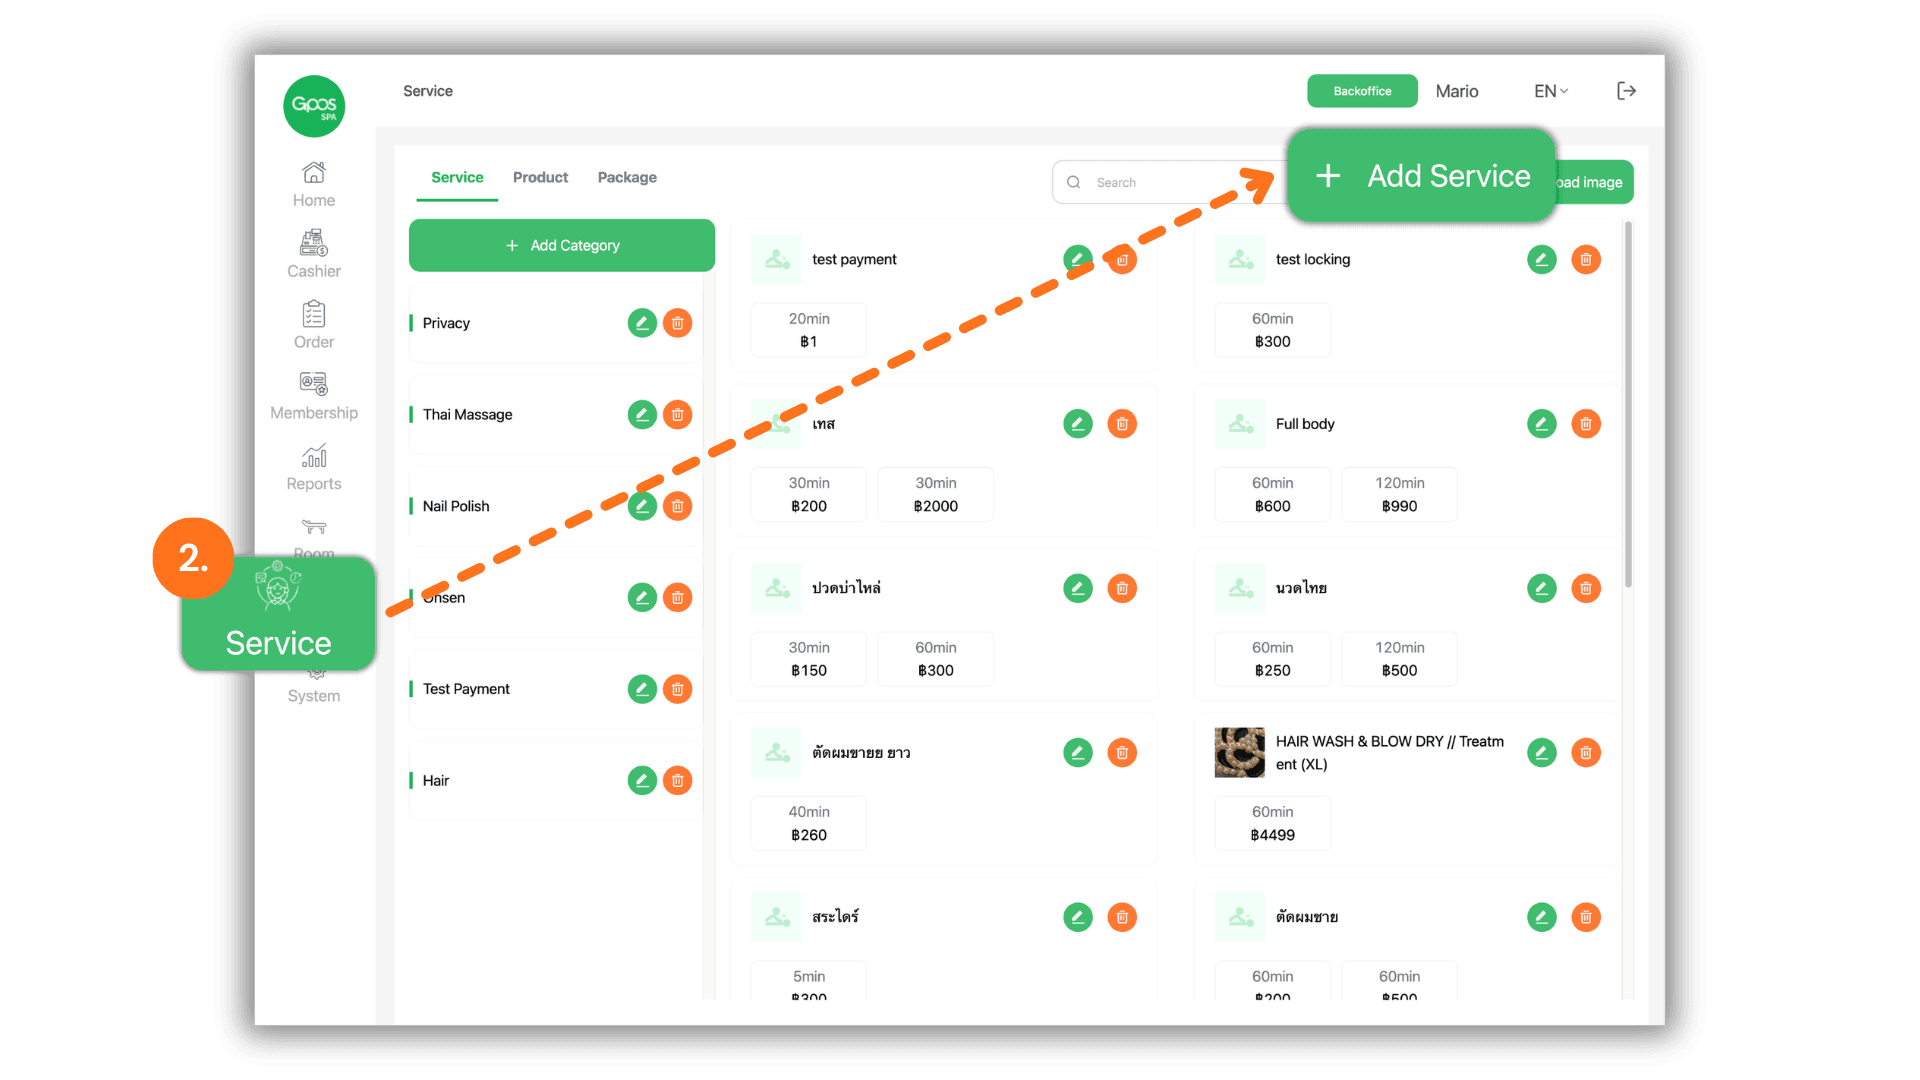
2. Access the Service Menu and Click Add Service
Go to the left-hand menu, select Service, ensure you are on the Service tab, and then click the + Add Service button in the top right corner to start creating a new item.
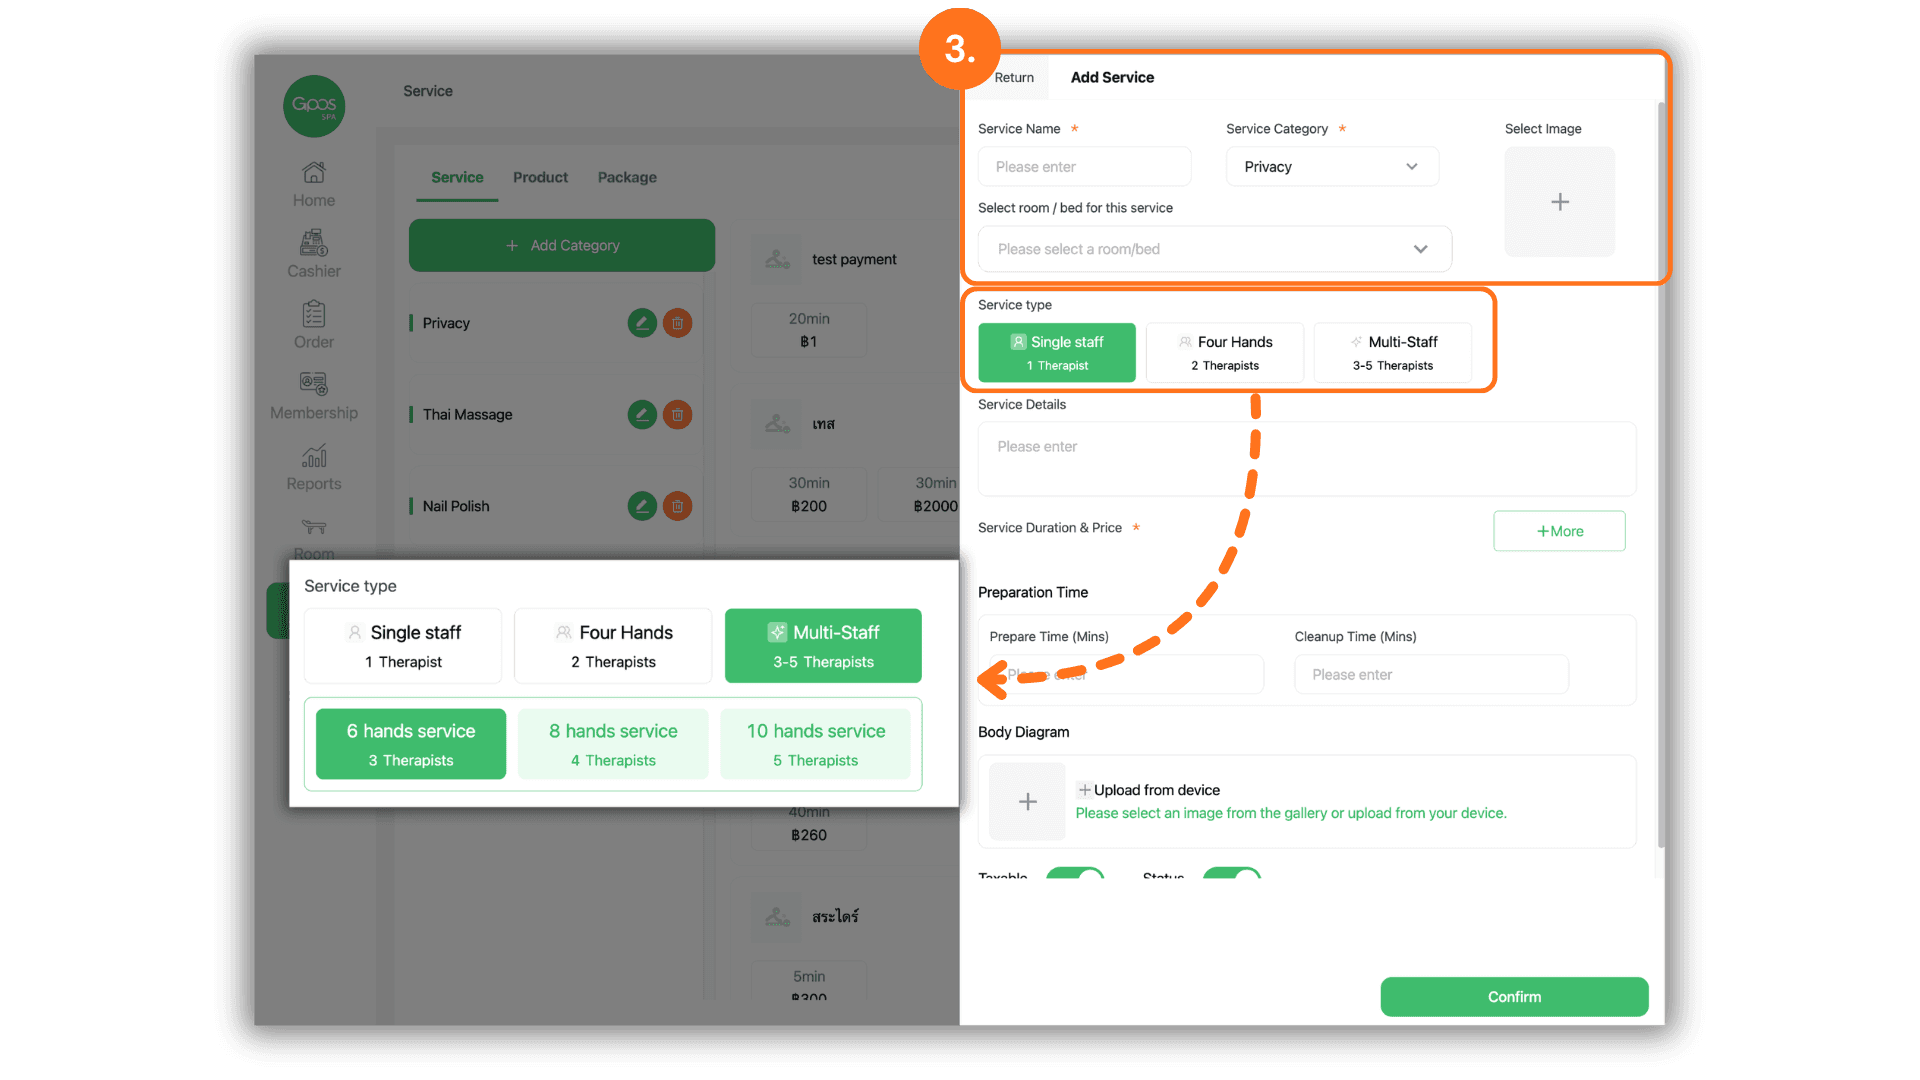
3. Fill in Service Information Details
Fill in the basic details of the service completely as follows:
- Service Name: Enter the desired service name.
- Service Category: Click to select the relevant category.
- Service Type: Specify the service type and the number of therapists required for the service, supporting up to 5 therapists working together.
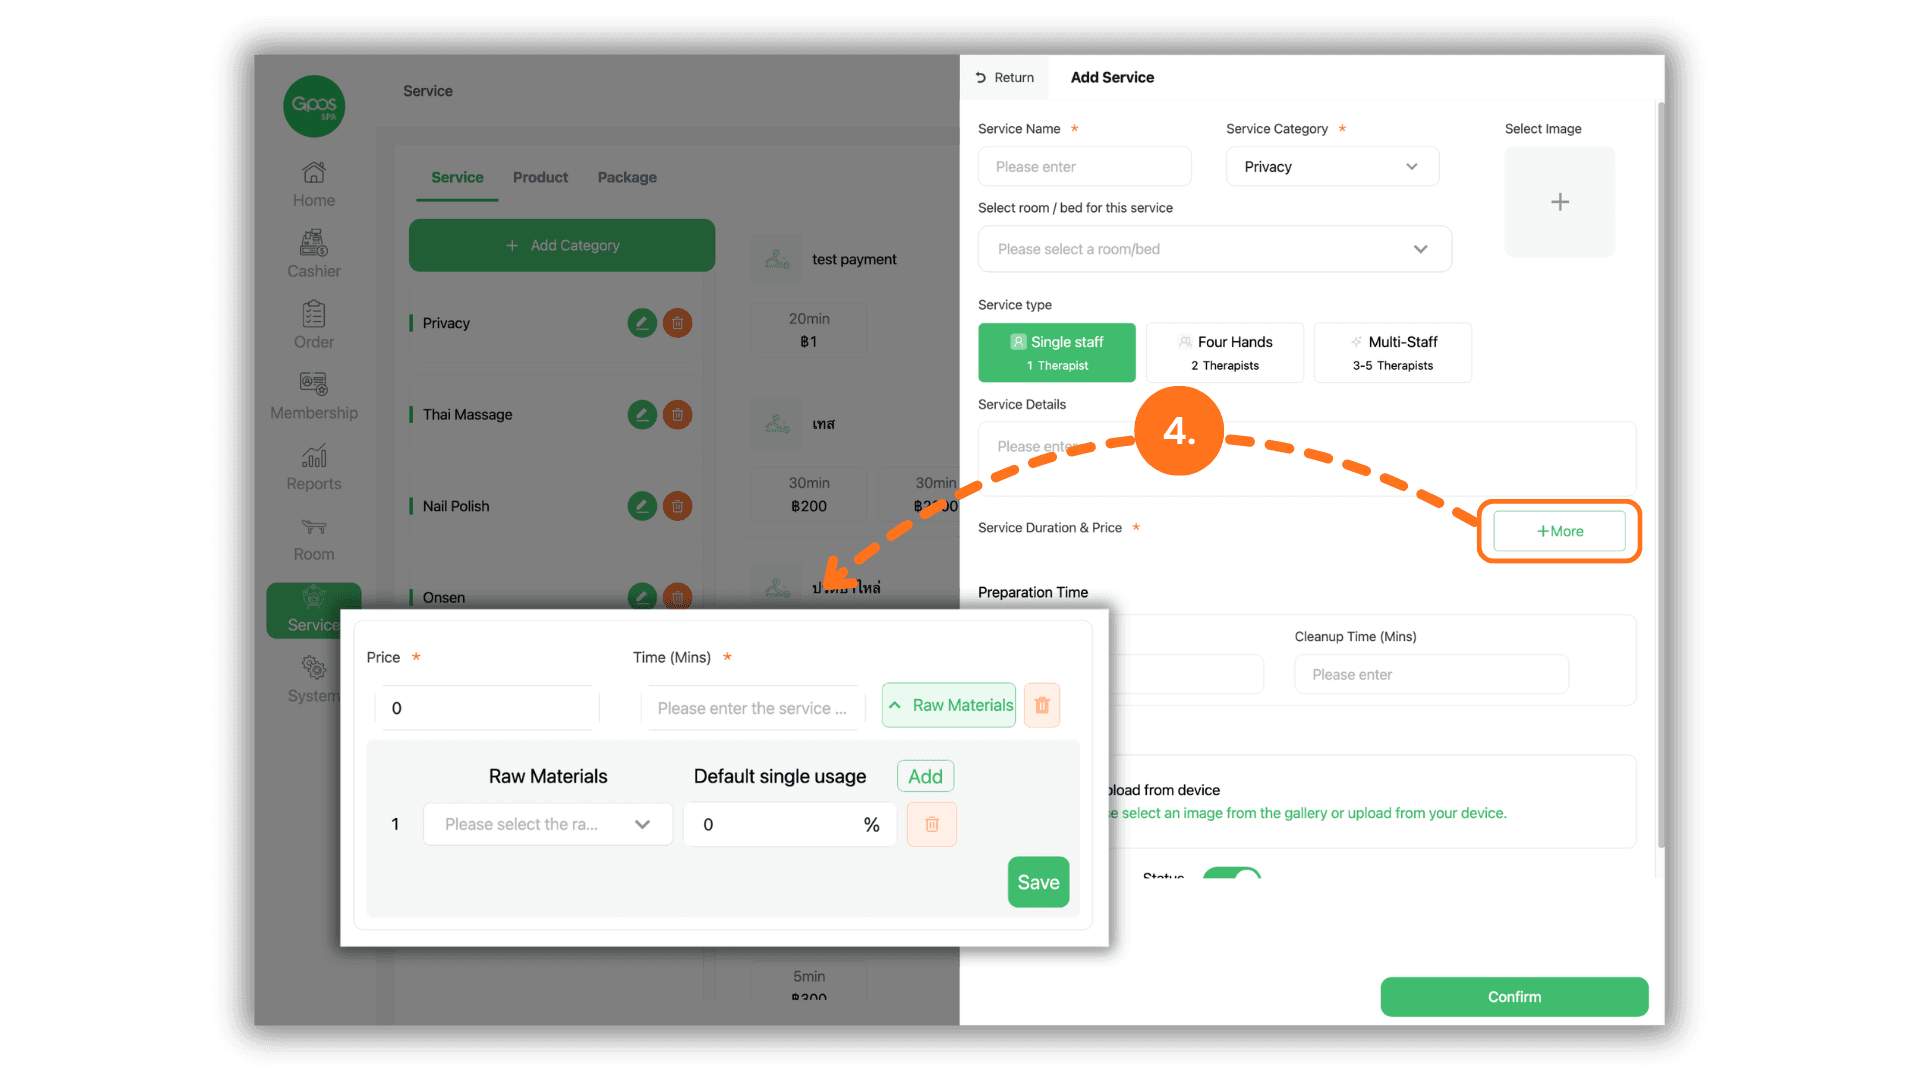
4. Set Duration, Price, and Raw Materials Used
Click the + More button to set the price and service duration according to the following details:
- Duration & Price: Add duration and set pricing according to the desired time slots immediately.
- Add Raw Materials: If the service consumes raw materials, click to select raw material items and specify the usage percentage (e.g., setting 100% equals 1 item unit).
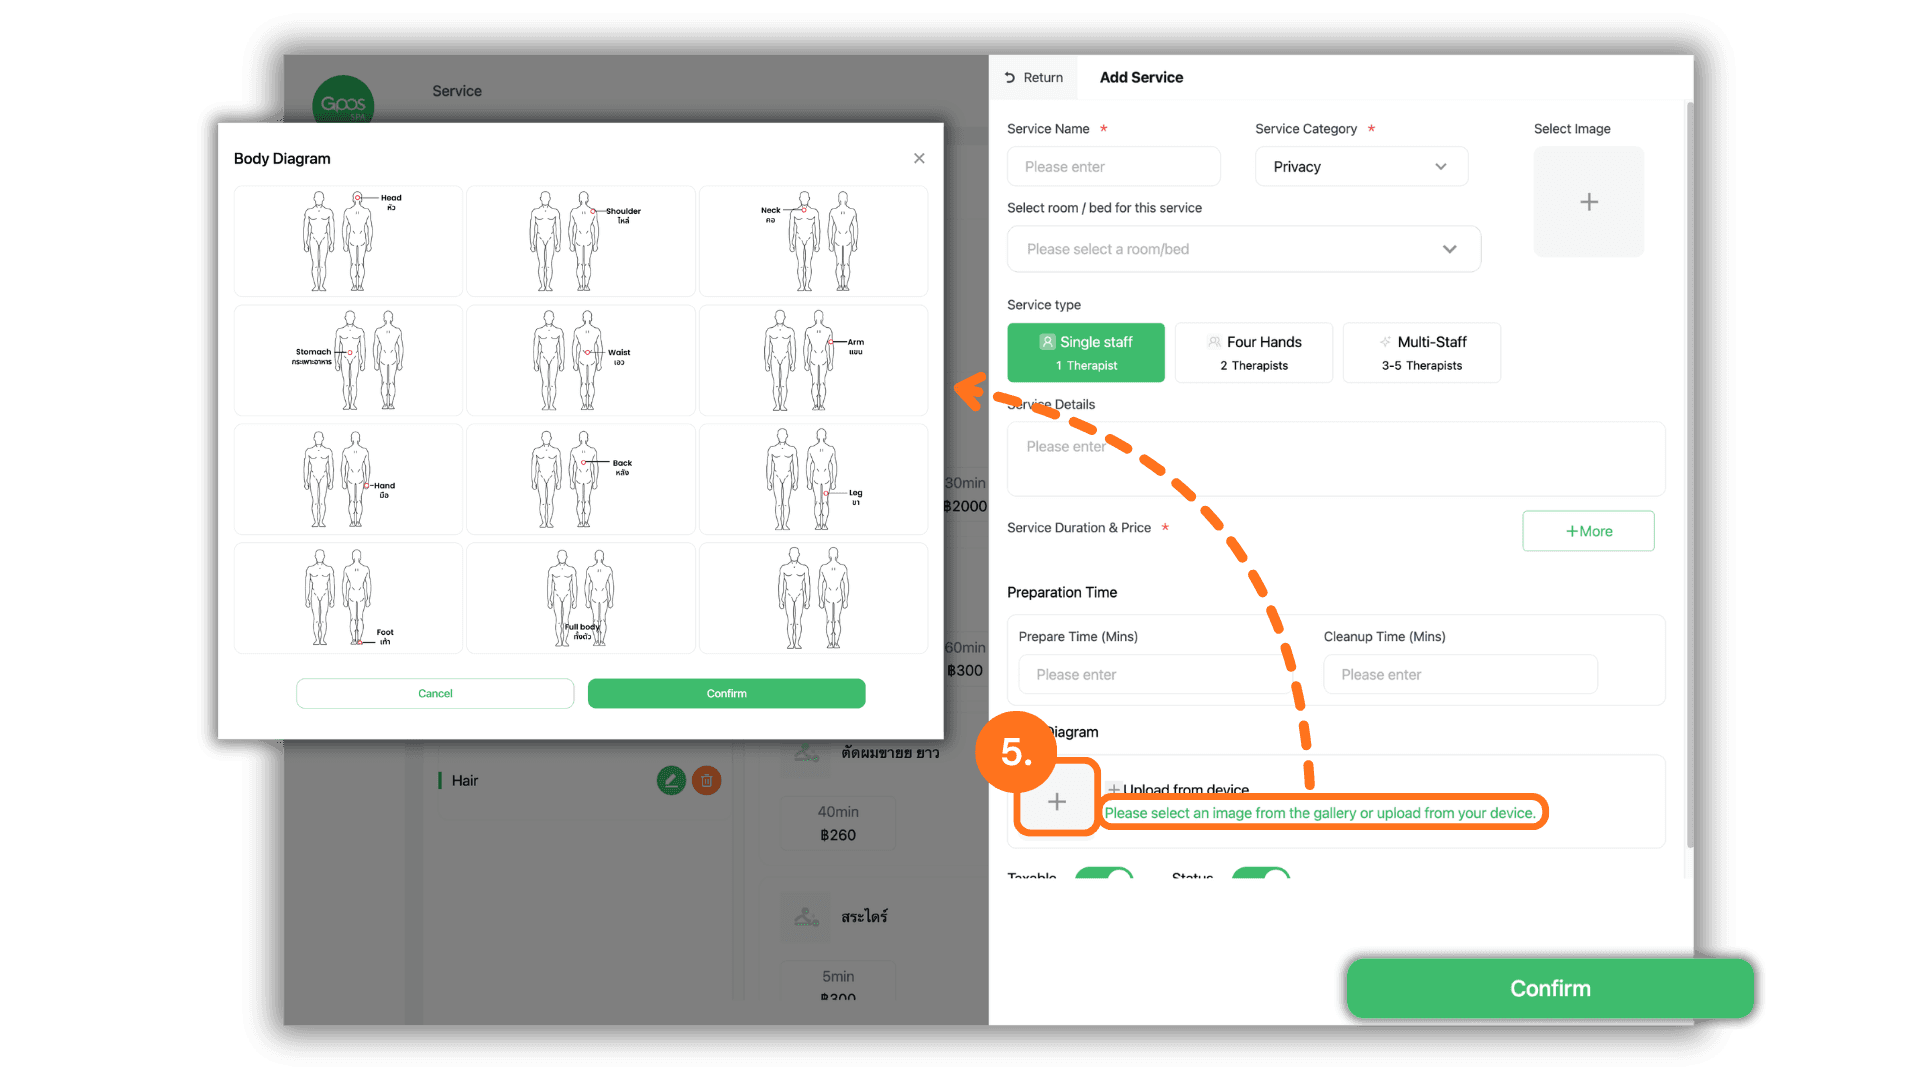
5. Select Service Image or Body Diagram
Decorate the spa card format or select images accompanying the service as needed:
- Upload Custom Image: Click the + button to select an original image from your store or device.
- Use System Gallery: Click Please select an image from the gallery or upload from your device to choose body diagrams (Body Diagram) or high-quality standard images prepared by the system.
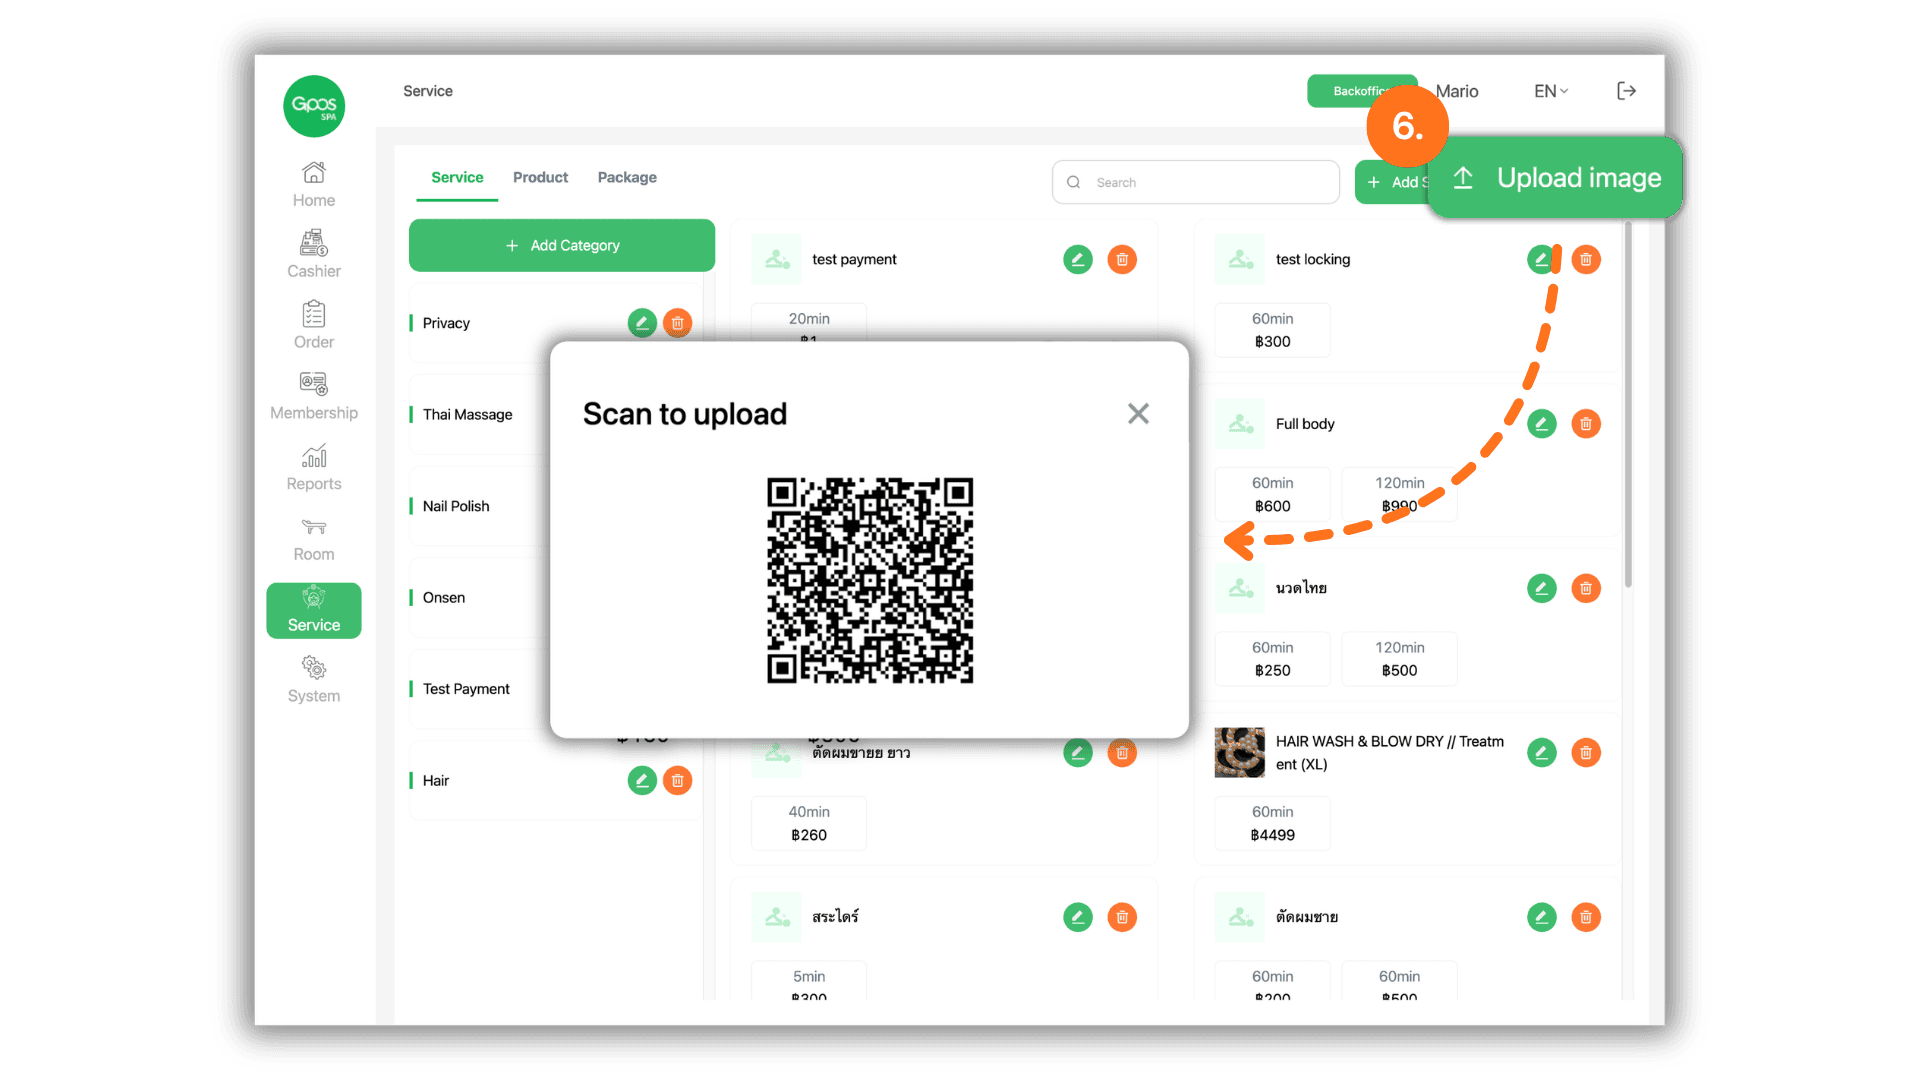
6. Upload Service Images via QR Code
Conveniently upload multiple service images simultaneously by clicking the Upload image button to open the QR Code window, then use a mobile phone to scan the QR Code to send images directly into the system.